> ## Documentation Index
> Fetch the complete documentation index at: https://docs.baeum.ai.kr/llms.txt
> Use this file to discover all available pages before exploring further.
# Node.js
Node.js는 JavaScript 실행 환경이며, Claude Code와 다양한 개발 도구에서 필수로 사용됩니다.
## 사전 준비
* [Homebrew](/setup/macos/homebrew) 설치 완료
## 설치 과정
아래 명령어를 실행합니다.
```bash theme={null}
brew install node
```
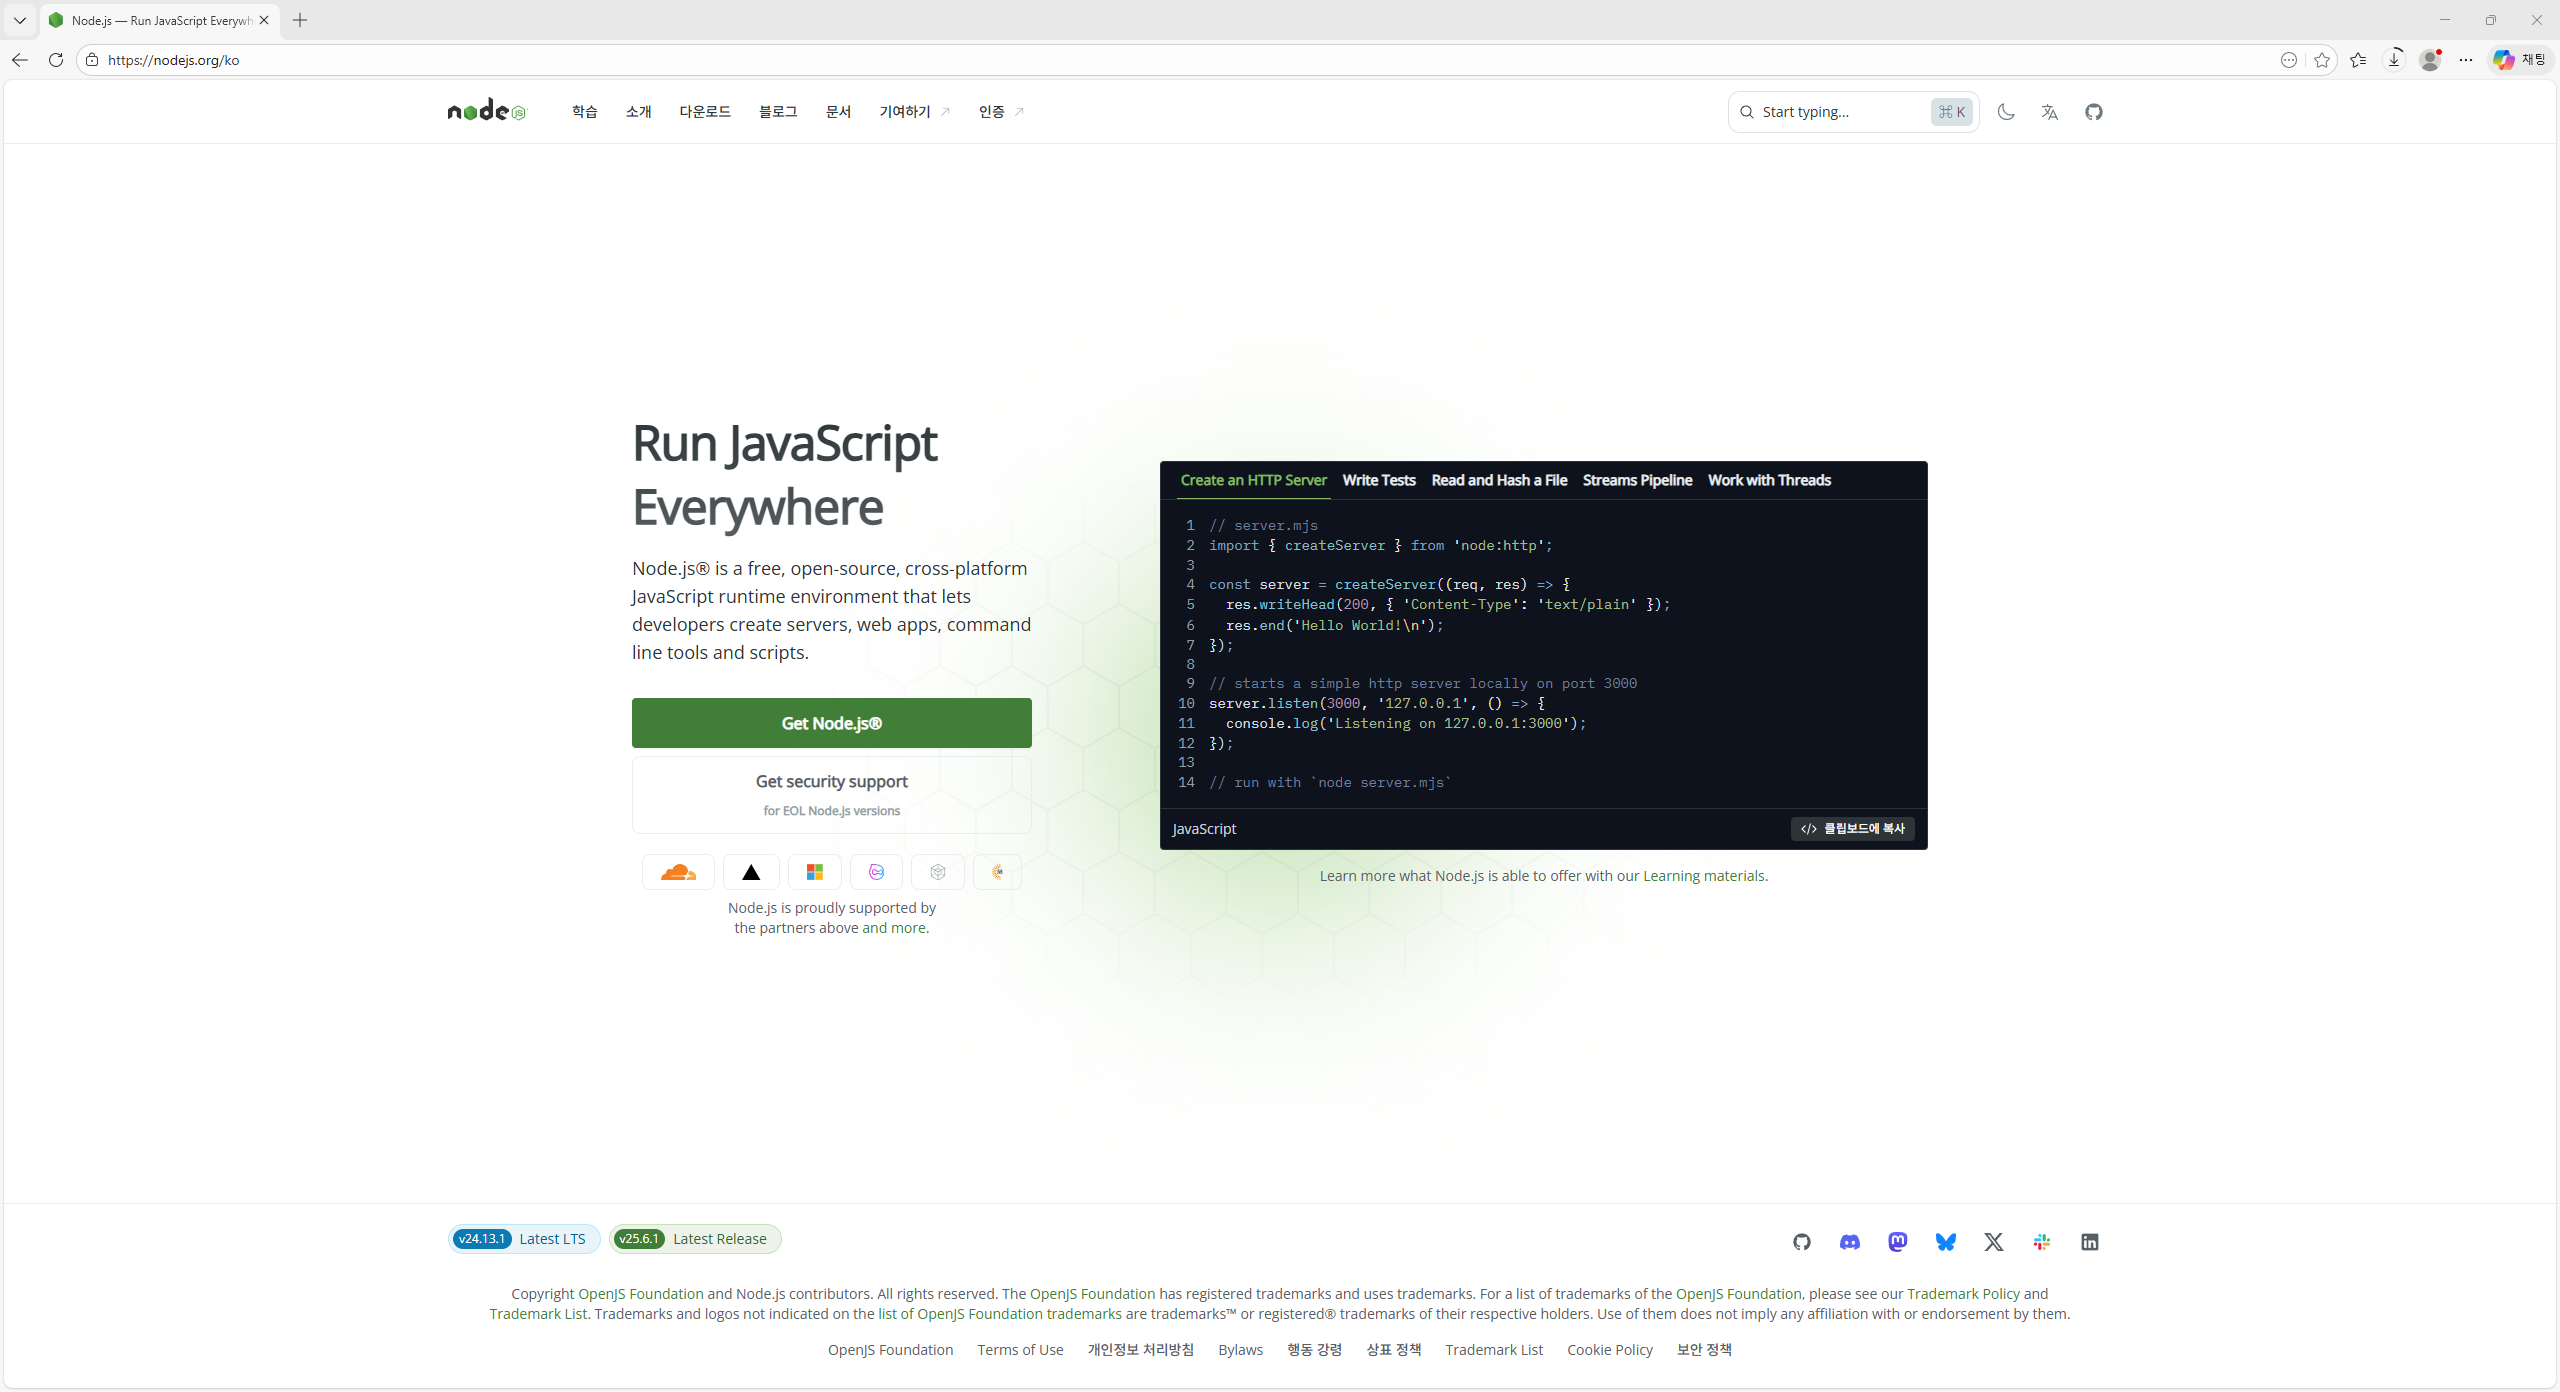 설치 후 버전을 확인합니다.
```bash theme={null}
node --version
npm --version
```
## 설치 확인하기
```bash theme={null}
which node
which npm
```
경로가 출력되면 정상적으로 설치된 상태입니다.
## 문제 해결
* **권한 오류(EACCES)**: `sudo npm install -g` 대신 Homebrew 설치 경로와 PATH를 먼저 점검합니다.
* **구버전 충돌**: 과거 설치본이 있으면 `which -a node`로 중복 경로를 확인합니다.
## 설치 점검 목록
* 관리자 권한/필수 도구 등 사전 요구사항을 먼저 확인했습니다.
* 설치 후 버전 확인 명령어(`--version`)를 실행해 정상 설치를 검증했습니다.
* PATH/환경변수 변경이 필요한 경우 터미널을 다시 열어 적용 여부를 확인했습니다.
* 문제가 생겼을 때를 대비해 설치 로그 또는 스크린샷을 남겼습니다.
## 관련 문서
운영체제별 설치 흐름을 다시 확인합니다.
다음 설치 단계를 이어서 진행합니다.
설치 후 버전을 확인합니다.
```bash theme={null}
node --version
npm --version
```
## 설치 확인하기
```bash theme={null}
which node
which npm
```
경로가 출력되면 정상적으로 설치된 상태입니다.
## 문제 해결
* **권한 오류(EACCES)**: `sudo npm install -g` 대신 Homebrew 설치 경로와 PATH를 먼저 점검합니다.
* **구버전 충돌**: 과거 설치본이 있으면 `which -a node`로 중복 경로를 확인합니다.
## 설치 점검 목록
* 관리자 권한/필수 도구 등 사전 요구사항을 먼저 확인했습니다.
* 설치 후 버전 확인 명령어(`--version`)를 실행해 정상 설치를 검증했습니다.
* PATH/환경변수 변경이 필요한 경우 터미널을 다시 열어 적용 여부를 확인했습니다.
* 문제가 생겼을 때를 대비해 설치 로그 또는 스크린샷을 남겼습니다.
## 관련 문서
운영체제별 설치 흐름을 다시 확인합니다.
다음 설치 단계를 이어서 진행합니다.